
You've read the honest explainer on what MCP actually is and isn't and the argument for governed agent access. You're sold on the idea. Now you want the thing running, not another explainer. Fair.
This is the shortest real path from "we have an order API" to "an agent can call it, on behalf of a specific customer, and I can prove it can't act for anyone else." One existing REST service, one tool, one connected client, in a single sitting. We'll use a read-only getOrderStatus operation as the worked example because it's the canonical case: safe enough to ship first, useful enough to be worth shipping.
The full lifecycle has more depth than a quickstart shows; the comprehensive version lives in the pillar. Here we take the happy path and skip the side roads.
One thing to set up front, because it shapes who does what: this is a relay across three roles. A Platform Lead defines identity once. An API Owner wires a service and exposes it. A Client Consumer connects an agent. If that's all one person on your team, fine, but the handoffs are real, and naming them is the difference between a smooth setup and three people waiting on each other.
Step 1 — Platform Lead: define the Security Profile
Everything downstream binds to a Security Profile, so it goes first. This is the Platform Lead's job, and it's the one decision the rest of the build inherits.
Go to Settings → Organization → Security Profiles → New Security Profile. You're connecting your existing OpenID Connect provider and declaring the vocabulary your APIs will speak:
- Provider Type — OpenID Connect.
- Discovery URL — your IdP's
…/.well-known/openid-configuration. - Audience — the resource your tokens target.
- Access Scopes — the permissions your APIs recognize. Add
order:readhere. This is the lever everything later hangs on, so it's worth saying plainly: you author whatever scopes you need. There's no fixed menu. For our example, one scope is enough. - Claims — the caller-identity attributes the profile defines. Add
customerId, typestring. This is the value that will scope every call to one customer's data.
Save it. You now have a named profile, available org-wide, carrying exactly the scope and claim vocabulary your IdP issues and nothing else.
The scopes you write here are the entire permission vocabulary your tools can use later, so define them for what your APIs actually do, not a generic read/write pair.
Step 2 — API Owner: bind the claim into your REST service
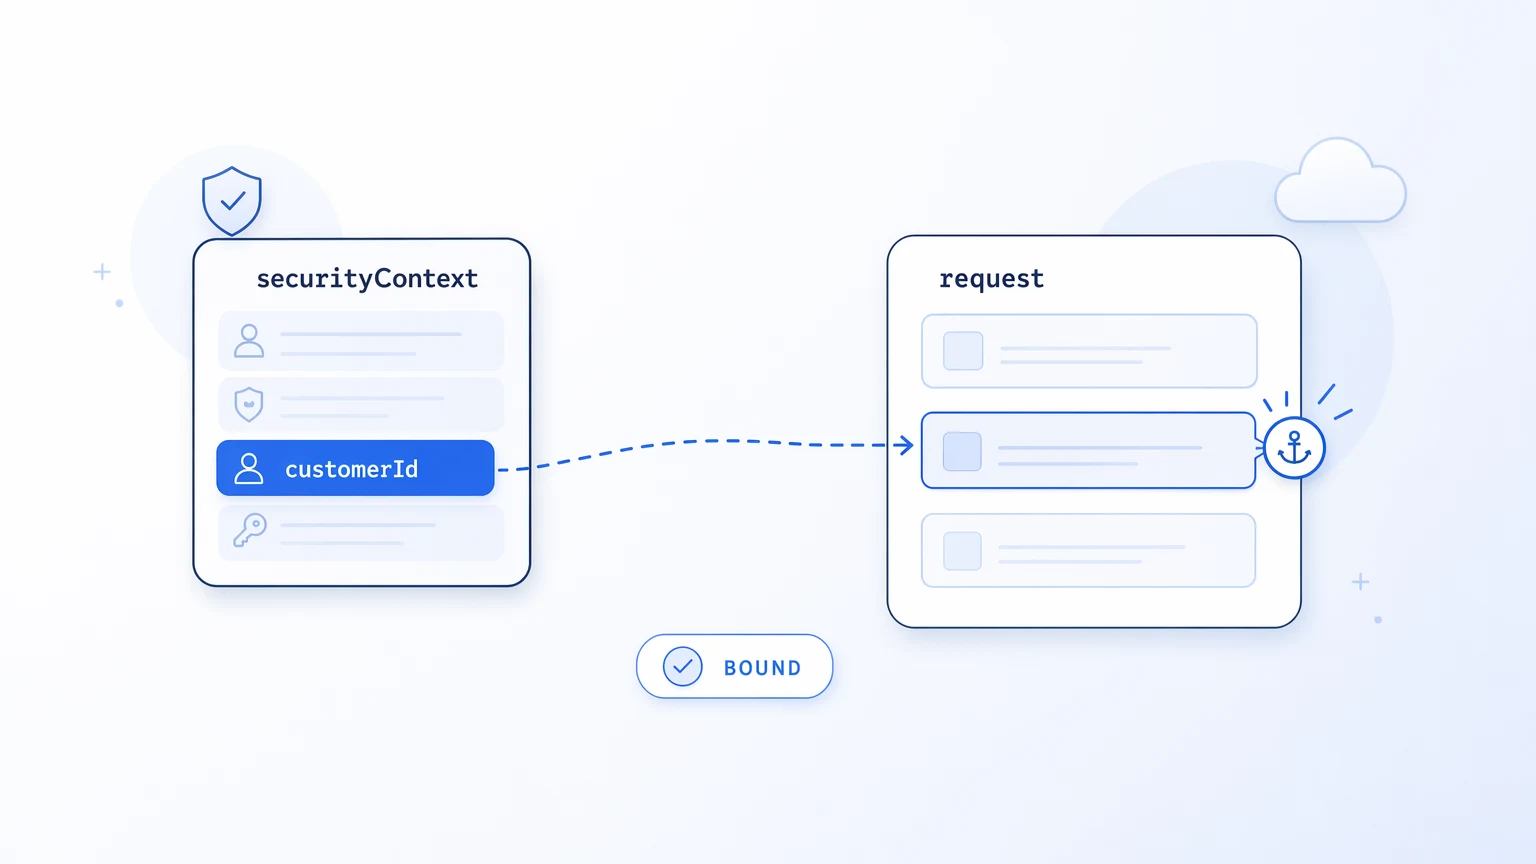
Handoff one: the Platform Lead has defined the profile; the API Owner now wires it into a real service. Open your getOrderStatus workflow's REST activity and go to its Security tab.
Pick the profile you just made. Set Scopes to order:read (the caller's token must grant it). Set Required Claims to customerId (the caller's token must carry it). Selecting the profile injects a securityContext object into the activity's Output schema, holding the verified caller identity:
securityContext
├─ subject     (string)
├─ clientId    (string)
├─ scopes      (string[])
├─ expiresAt   (string)
└─ claims
   └─ customerId (string)   ← the verified value, ready to bind
Now the step that matters. You don't read that token in code and trust yourself to do it right. You bind the claim into the request. In the Output tab, right-click the field your downstream call filters on (say $.request.query.customerId), and the Claim Mappings dialog opens. Choose customerId, pick the operator, save.
That binding is the whole point of this step. The customer the call acts for is now set by the platform, from the verified token, attached to a specific field a reviewer can see, rather than something the agent gets to pick at runtime.
The verified customerId is bound into the request by the platform, so the agent can never assert which customer it's acting for.
Step 3 — API Owner: publish a Collection and generate the spec
Still the API Owner. You've decided this service is one you're willing to expose, so you bundle it.
Go to Settings → Workspace → API Collections, create a collection (name, description, version), select your getOrderStatus endpoint, and Publish. Publishing freezes a version and records who and when. Then generate the OpenAPI spec from that published collection. That spec is what the MCP server reads to discover operations, and each operation in it becomes one tool.
Two things fall out of this step for free. The collection is the seam where you draw the line on what's exposed, deliberately, instead of every endpoint being implicitly reachable. And the spec is a snapshot: edit the workflow next week and the tool a deployed agent is already calling won't shift underneath it.
Publishing freezes a versioned snapshot, so your live tool surface is the version you published, not whatever the canvas looks like today.
Step 4 — API Owner: create the MCP server and classify the tool
Go to API Manager → MCP Servers → Create. Name the server, pick Environment (Development for now), and select the Security Profile from Step 1. The server binds to exactly one profile, which means the only scopes and claims anything on it can use are the ones you authored.
Open the APIs & Tools tab, select your published spec, and enable the getOrderStatus operation. Now classify it. Set its required Access Scope to order:read and the Claim to forward as customerId. The tool's Risk Class is backed by the scope you require: because reaching this tool needs order:read and nothing more, it's a low-risk read, and a client can treat it accordingly.
This is the part people get wrong from the docs, so it's worth being exact: Risk Class is not a fixed Read/Write toggle. It's driven by the scopes you set up. A getOrderStatus behind order:read is a safe call a host can make freely; the same machinery puts a cancelOrder behind an order:cancel scope you'd configure to gate behind a confirmation. You decide the gradient by the scopes you author, not a hardcoded label.
While you're here, set the Downstream Credentials for the spec's security scheme, the key your tool uses to actually reach the order API (an APIM subscription key, a bearer token). It's encrypted at rest and never shown again. Note that it lives on a completely separate plane from the OAuth a client uses to reach the server. The agent never sees this key.
A tool's Risk Class follows the scope you require to call it, so you set the gating gradient by authoring scopes, not by flipping a fixed read/write flag.
Step 5 — API Owner: mint an OAuth app and assign the user
Handoff two is about to happen, and this step sets it up. On the server's Client Access tab, create a New OAuth application.
Give it a name (Order Lookup Agent), grant it the order:read scope, and set the Claim default for customerId if this app always acts for one tenant, or leave it to per-user assignment if not. Then the field that controls access: Assigned users. Add the specific person who will connect.
Click Create application. It mints a client_id and client_secret. Capture the secret now. It's shown once, at creation, and can be rotated but never re-displayed.
Access here is assignment-based on purpose. There's no self-service registration where anything with the URL can join. Only assigned users can connect, and each surfaces on this tab as a Member once they authenticate. That's what makes "who can reach this server" a roster you can answer for, not a hope that nobody shared the endpoint.
Access is granted by assigning a named user, so your roster is an auditable list rather than anyone who happens to find the URL.
Step 6 — Client Consumer: connect and verify
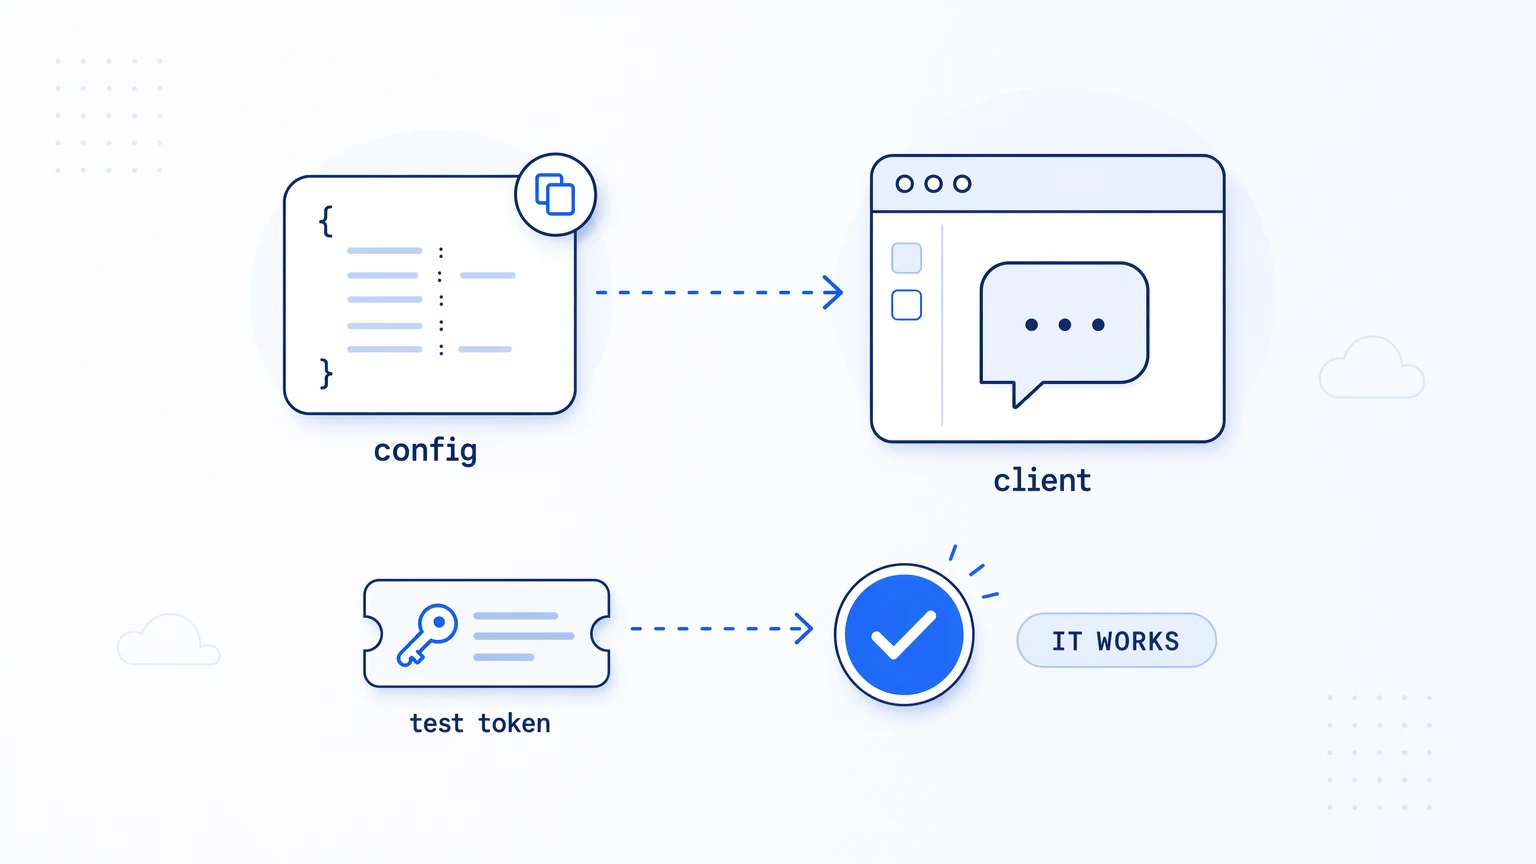
Final handoff. The API Owner hands the Client Consumer two things: the credentials from Step 5 and the server's MCP endpoint. The consumer takes it from here.
On the server's Connect tab, pick your client (we'll use Claude) and the OAuth application. Copy the generated config. For Claude it goes in claude_desktop_config.json, reachable via Settings → Developer → Edit Config:
{
  "mcpServers": {
    "koodisi-orders": {
      "url": "https://<your-server>/mcp",
      "client_id": "<YOUR_CLIENT_ID>",
      "client_secret": "<YOUR_CLIENT_SECRET>"
    }
  }
}
Replace <YOUR_CLIENT_ID> and <YOUR_CLIENT_SECRET> with the credentials from Step 5, restart the client, and approve the sign-in when prompted. Ask the agent for an order status and watch it call your tool, scoped to the customer the token carries.
If you'd rather smoke-test before wiring a real client, use Generate Test Token on the server: it mints a short-lived token you can hit from Postman or cURL to confirm the server responds. That's the fastest way to prove the path works end to end without touching a client config at all.
The Connect tab hands you a copy-paste config and a test token, so the most error-prone step in the whole flow is the one you don't hand-assemble.
What you just built, and where to go next
In one sitting you took an existing REST service and turned it into a governed MCP tool: scoped by a vocabulary you authored, bound to a verified customer identity the agent can't fake, reachable only by an assigned user, and calling your downstream API with a key the client never sees. Every call against it is an OpenTelemetry span, so when an agent does something surprising you can follow it into the observability stack you already run.
You can do all of this on Koodisi's free Community tier, which carries the OpenTelemetry tracing from the start, with no per-execution billing and no overage invoices on the paid tiers as you add tools and clients. Start with the one read tool. Once it's connected and traced, the second tool is the same six steps, and the next team that wants agent access gets assigned to a server that's already governed.
When you're ready for the depth this quickstart skipped, the full lifecycle and the reasoning behind each stage is the place to go.